
Hypodermic needles are essential tools for medical procedures that involve injecting substances into the body or drawing blood samples. They are also used for cosmetic treatments, such as botox injections or dermal fillers. However, not all hypodermic needles are created equal. The size, shape, and material of the needle can affect the accuracy, comfort, and safety of the procedure. One of the factors that can influence these aspects is the gauge of the needle, which refers to its diameter. In this article, we will explore how to find the right 34 gauge needle size for your procedure and how to make a more precise hypodermic needle that can minimize pain, bleeding, bruising, and infection.
Understanding the anatomy of a hypodermic needle
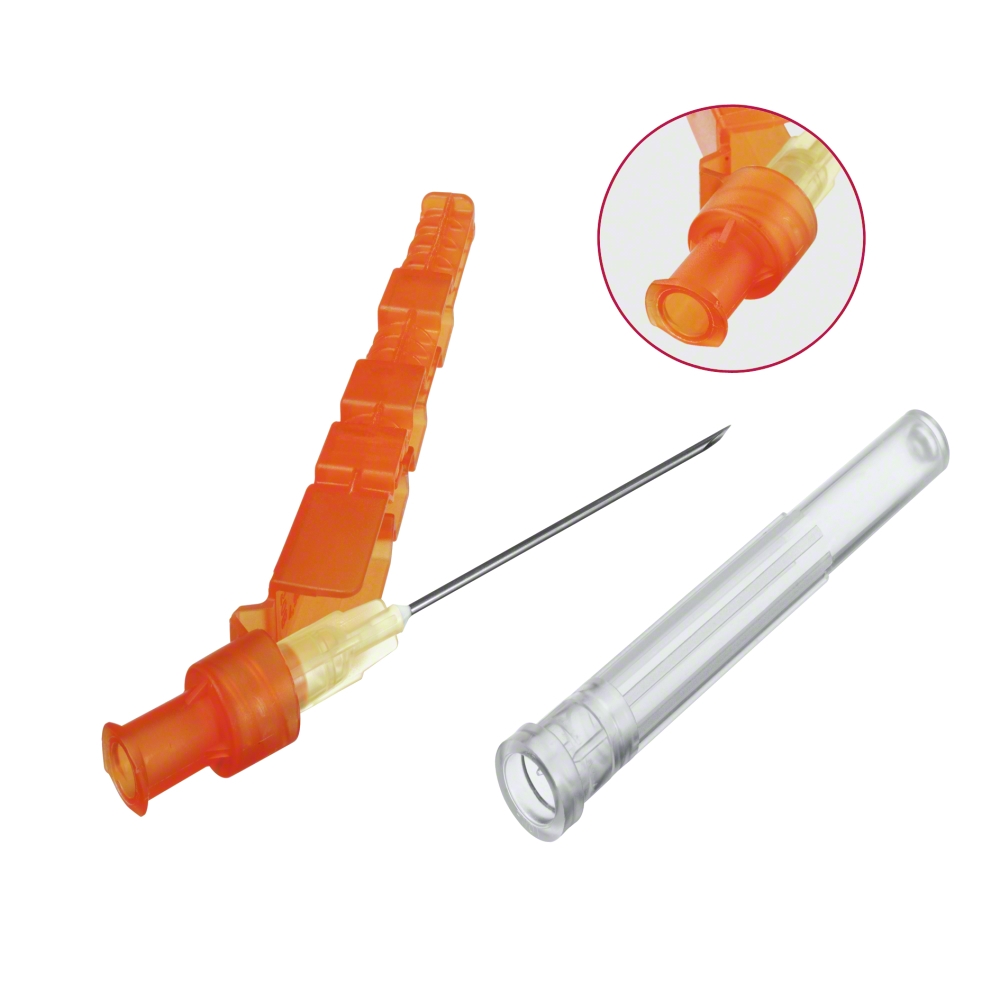
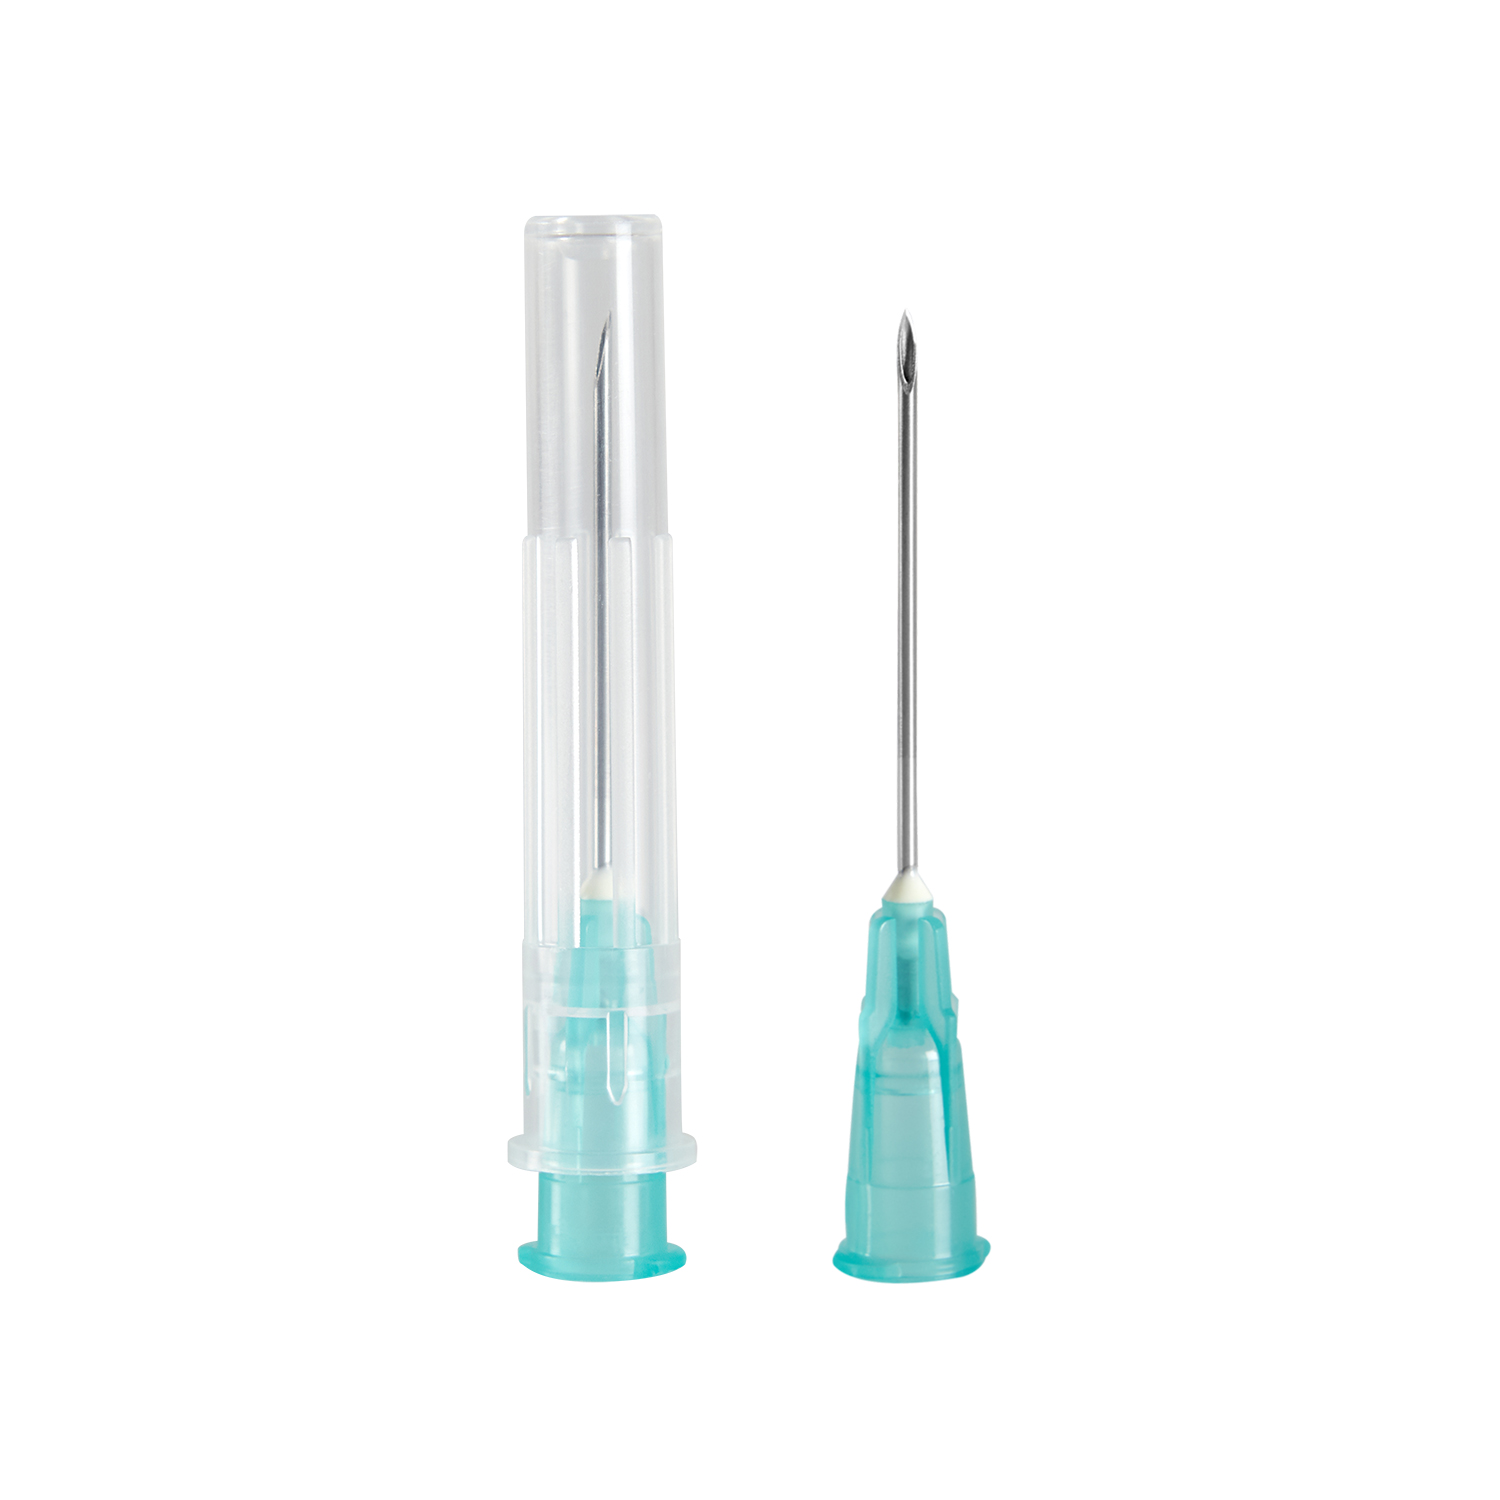
A hypodermic needle consists of three main parts: the hub, the shaft, and the bevel. The hub is the part that connects to the syringe or other device that holds the fluid to be injected or drawn. The shaft is the long and thin part that penetrates the skin and tissue. The bevel is the slanted tip of the shaft that creates a small opening in the skin.
The size of a hypodermic needle is measured by two parameters: the gauge and the length. The gauge refers to the diameter of the shaft, while the length refers to how long the shaft is. The gauge is inversely proportional to the diameter, meaning that a higher gauge number indicates a thinner needle. For example, a 34 gauge needle has a diameter of 0.18 mm, while a 16 gauge needle has a diameter of 1.65 mm.
The length of a hypodermic needle can range from 4 mm to 90 mm, depending on the type and depth of the injection or puncture. For example, intradermal injections (such as tuberculosis tests) require a short needle (4-6 mm), while intramuscular injections (such as vaccines) require a longer needle (25-38 mm).
Choosing the right 34 gauge needle size for your procedure
One of the factors that can affect the precision of a hypodermic needle is its size. Choosing the right 34 gauge needle size for your procedure can make a big difference in terms of accuracy, comfort, and safety. Here are some tips on how to select the appropriate 34-gauge needle size for your procedure:
Consider the type and viscosity of the fluid to be injected or drawn. A thinner fluid (such as saline solution) can flow easily through a thin needle, while a thicker fluid (such as blood) may require a wider needle to avoid clogging or hemolysis (damage to red blood cells).
Consider the volume of the fluid to be injected or drawn. A larger volume may require a wider needle to reduce the pressure and time needed to inject or draw the fluid.
Consider the location and depth of the injection or puncture site. A deeper site may require a longer needle to reach the target tissue or vessel, while a superficial site may require a shorter needle to avoid hitting bones or nerves.
Consider the patient’s age, weight, and skin condition. A thinner and shorter needle may be more suitable for children, the elderly, or thin patients, while a thicker and longer needle may be more suitable for adults, obese, or thick-skinned patients.
Consider the patient’s pain tolerance and preference. A thinner and shorter needle may cause less pain and discomfort for patients who are sensitive or fearful of needles, while a thicker and longer needle may provide more stability and confidence for patients who are comfortable or experienced with needles.
Improving the shape and material of a hypodermic needle
Another factor that can affect the precision of a hypodermic needle is its shape and material. Improving the shape and material of a hypodermic needle can enhance its performance, durability, and biocompatibility. Here are some ways on how to improve the shape and material of a hypodermic needle:
Optimize the angle and sharpness of the bevel. A sharper bevel can create a smaller and cleaner opening in the skin, reducing pain, bleeding, bruising, and infection. A steeper angle (such as 12 degrees) can increase penetration force and accuracy, while a shallower angle (such as 45 degrees) can reduce tissue damage and leakage.
Use high-quality stainless steel or other metals for the shaft. Stainless steel is one of the most common materials used for hypodermic needles because it is strong, flexible, corrosion-resistant, and biocompatible. However, other metals such as titanium or nickel-titanium alloys can also be used to improve the strength-to-weight ratio, elasticity, memory shape effect (ability to return to original shape after bending), or magnetic properties (ability to be manipulated by magnetic fields).
Coat the shaft with a lubricant or a coating material. A lubricant or a coating material can reduce the friction and drag of the needle as it passes through the skin and tissue, minimizing pain, bleeding, bruising, and infection. Some examples of lubricants are silicone oil, polyethylene glycol, or glycerin. Some examples of coating materials are polytetrafluoroethylene (PTFE), polyvinylpyrrolidone (PVP), or hydrogel.
Testing and evaluating a hypodermic needle
The final step in making a more precise hypodermic needle is testing and evaluating its performance, quality, and safety. Testing and evaluating a hypodermic needle can ensure that it meets the standards and specifications required for its intended use. Here are some methods on how to test and evaluate a hypodermic needle:
Perform mechanical tests to measure the strength, flexibility, durability, and resistance of the needle. Some examples of mechanical tests are the tensile test (measuring the force needed to break the needle), bending test (measuring the angle at which the needle bends), torsion test (measuring the torque needed to twist the needle), fatigue test (measuring the number of cycles before the needle fails), and corrosion test (measuring the rate of deterioration of the needle in different environments).
Perform functional tests to measure the accuracy, efficiency, and ease of use of the needle. Some examples of functional tests are penetration test (measuring the force and depth needed to pierce a target material), flow test (measuring the rate and volume of fluid passing through the needle), leakage test (measuring the amount of fluid escaping from the needle or the injection site), and usability test (measuring the user’s satisfaction and preference with the needle).
Perform biological tests to measure the biocompatibility, sterility, and safety of the needle. Some examples of biological tests are cytotoxicity test (measuring the toxicity of the needle on living cells), hemolysis test (measuring the damage of the needle on red blood cells), pyrogen test (measuring the fever-inducing potential of the needle), sterility test (measuring the absence of microorganisms on the needle), and clinical trial (measuring the effectiveness and safety of the needle on human subjects).
Conclusion
Making a more precise hypodermic needle is not an easy task. It requires careful consideration of various factors that can affect its performance, quality, and safety. However, by following these steps on how to make a more precise hypodermic needle, you can create a better tool that can improve your medical or cosmetic procedure. A more precise hypodermic needle can benefit both you and your patient by reducing pain, bleeding, bruising, infection, and complications


